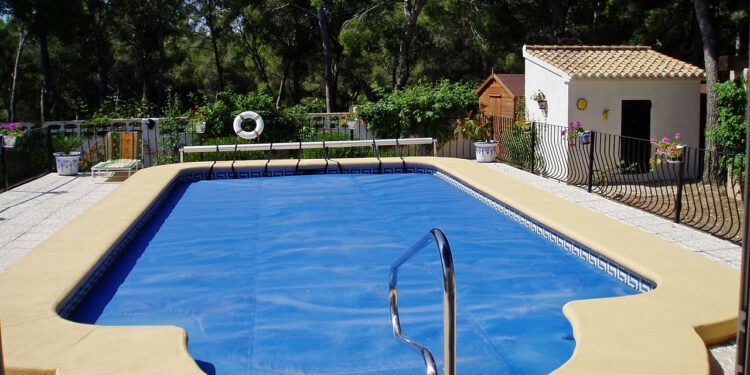
Let’s face it, one of the coolest features you can add to your home is a swimming pool.
Building a pool in your backyard might seem like one of those wild, in-the-moment party ideas, but it’s actually more feasible than you think. Sure, the process might feel like a bad hangover, but once you realize what’s involved, you’ll soon be asking yourself, “Why didn’t I do this sooner?”
So, with careful planning and a step-by-step approach, you can navigate through the complexities of pool construction.
Step 1: Planning and Designing Your Pool
The first step in building a pool is planning and designing it. Before you start any physical work, you need to visualize how you want your pool to look and function. Do you want a large, rectangular pool for laps or a smaller, free-form pool for relaxation? Consider features like a spa, waterfall, or built-in lighting. Think about how the pool will fit within the layout of your yard and any landscaping you’d like to incorporate.
Consulting with a professional designer or contractor early in the process can help you avoid costly mistakes. They will assist you in understanding local zoning regulations, required permits, and any restrictions based on your property’s size, terrain, or underground utilities.
Step 2: Getting the Necessary Permits
Before any construction begins, you will need to secure the necessary permits from your local government or municipality. Regulations regarding swimming pools can vary greatly depending on your location, so it’s crucial to ensure all legal requirements are met. Obtaining permits involves submitting detailed plans for your pool project and adhering to safety and zoning standards.
Some areas may have specific rules about fencing, pool depth, or drainage, so make sure these are part of your design before applying for permits. Once approved, you can move forward with confidence, knowing that your project is compliant with local laws.
Step 3: Excavation and Site Preparation
With your permits in hand, it’s time to prepare the site. This is where the physical work of creating your pool truly begins. The excavation process involves marking the outline of your pool and digging the hole to the desired depth and shape. Depending on your design, the hole can vary in depth, particularly if you want a deep end or a sloped pool floor.
Excavating the site also involves removing rocks, roots, or any obstacles that might interfere with the pool’s foundation. This phase of the process requires heavy machinery, so it’s best to hire experienced professionals to ensure the site is prepped correctly.
Step 4: Laying the Foundation and Structural Work
With the groundwork complete, you can now move on to constructing the pool’s shell. The material used for your pool’s foundation is crucial for its durability and long-term performance. There are several options available, including concrete, fiberglass, and vinyl. Concrete is a popular choice for swimming pool construction due to its strength and flexibility in design.
The pool’s walls are formed, and concrete is poured or sprayed in layers to create a strong shell. For fiberglass and vinyl pools, pre-constructed shells are placed into the excavated area. Each option has its pros and cons in terms of cost, longevity, and maintenance requirements, so choose based on your budget and preferences.
Step 5: Installing the Plumbing and Electrical Systems
Once the excavation is complete, the next step involves installing the essential infrastructure for the pool—plumbing and electrical systems. Proper plumbing ensures water circulates correctly in and out of the pool, powering essential systems like filtration, heating, and cleaning mechanisms.
It’s vital to install these systems correctly to avoid costly repairs down the road. Similarly, the electrical system will power lighting, pumps, and any additional features like jets or automated covers. A licensed electrician should handle this part of the project to ensure everything meets safety standards.
Step 6: Installing Decking and Surroundings
The pool itself is only part of the overall experience. The surrounding area, including the decking and landscaping, plays a significant role in the usability and appearance of your pool. Popular options for pool decking include concrete, natural stone, wood, and pavers. Each material has its benefits, but all should offer a slip-resistant surface and be able to withstand outdoor conditions.
Landscaping around the pool can transform your outdoor space into a private retreat. Consider adding plants, decorative stones, or even an outdoor seating area to complete the look.
Step 7: Installing the Pool’s Finish
The next step is applying the interior finish, which gives your pool its final look and feel. You can choose from a variety of finishes, including tiles, pebbles, and plaster. This step allows you to customize the aesthetics of your pool, from the color to the texture of the surface. A smooth finish is not only more visually appealing but also safer, as it reduces the chance of slipping.
In conclusion:
building a swimming pool requires careful planning, professional assistance, and attention to detail. With these steps, you can ensure that your pool is built to last and ready to provide endless hours of fun and relaxation.
Also, visit: Bookkeeping


